Android Studio is a to-go IDE for any beginner developers whom intend to Android Development. This blog will show how to get things set up on Android Studio, building a simple project and identifying some issues when using a AMD Ryzen CPU with Android Studio.
Preparation
You would want your operating system (Windows 10) is up-to-date then download the latest version of Android Studio here (click Download Android Studio then “Agree”).
Installation
Installing Android Studio, just like install “any” program on Window: “next”, “next”, “agree”, “install”. The default installation profile works smoothly so you don’t need to change much.
For the first time running Android Studio, it will ask to update and get your profile settings. Again, default on everything will get the job done.
Creating a new project
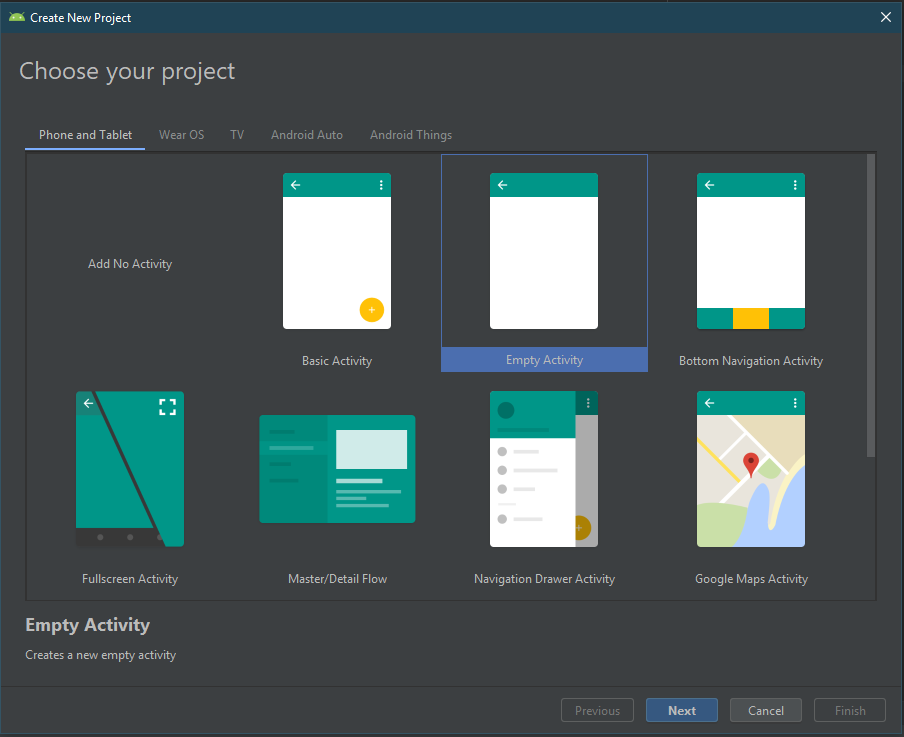
This is the wizard to simply create a project. We will do the simplest with Empty Activity
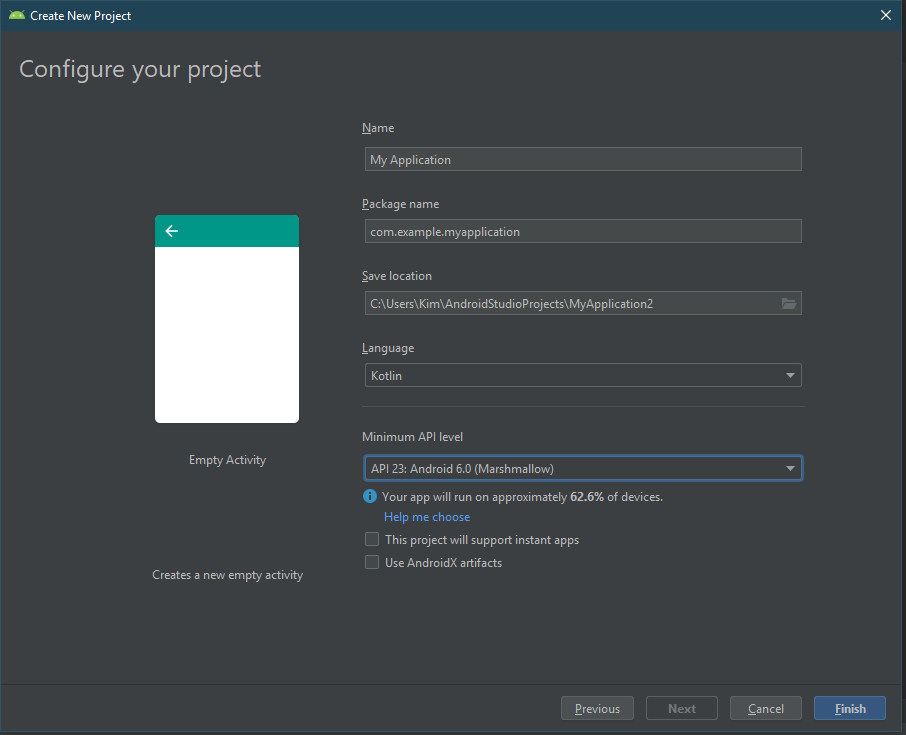
Then set your application name, language and minimum API. I would always choose Kotlin over Java for several reasons but it’s out of scope of this blog
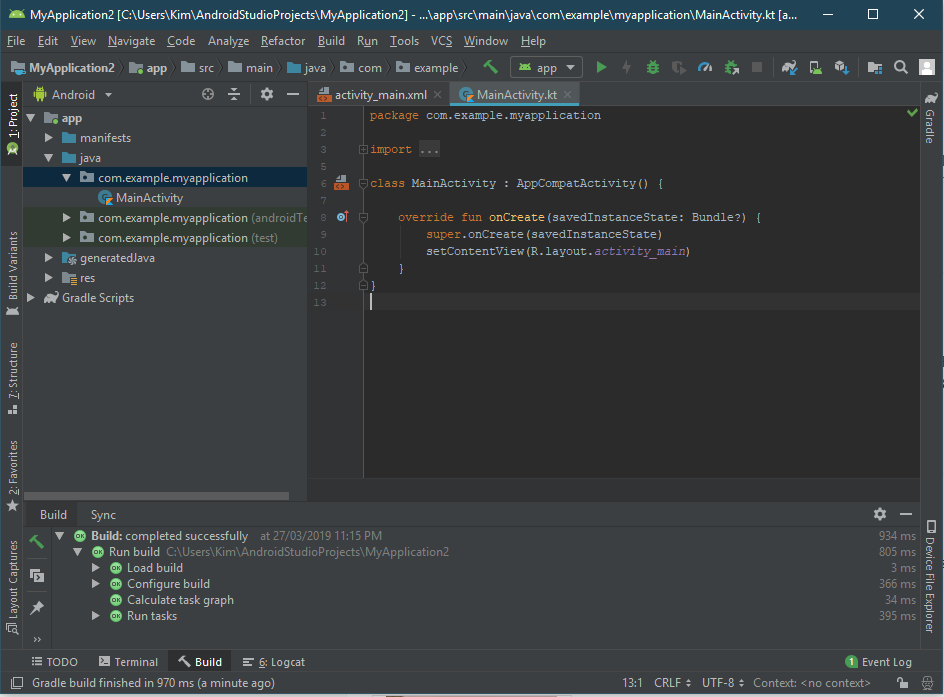
Below is the Kotlin code for the MainActivity
Switch to activity_main.xml, we have the layout for the UI
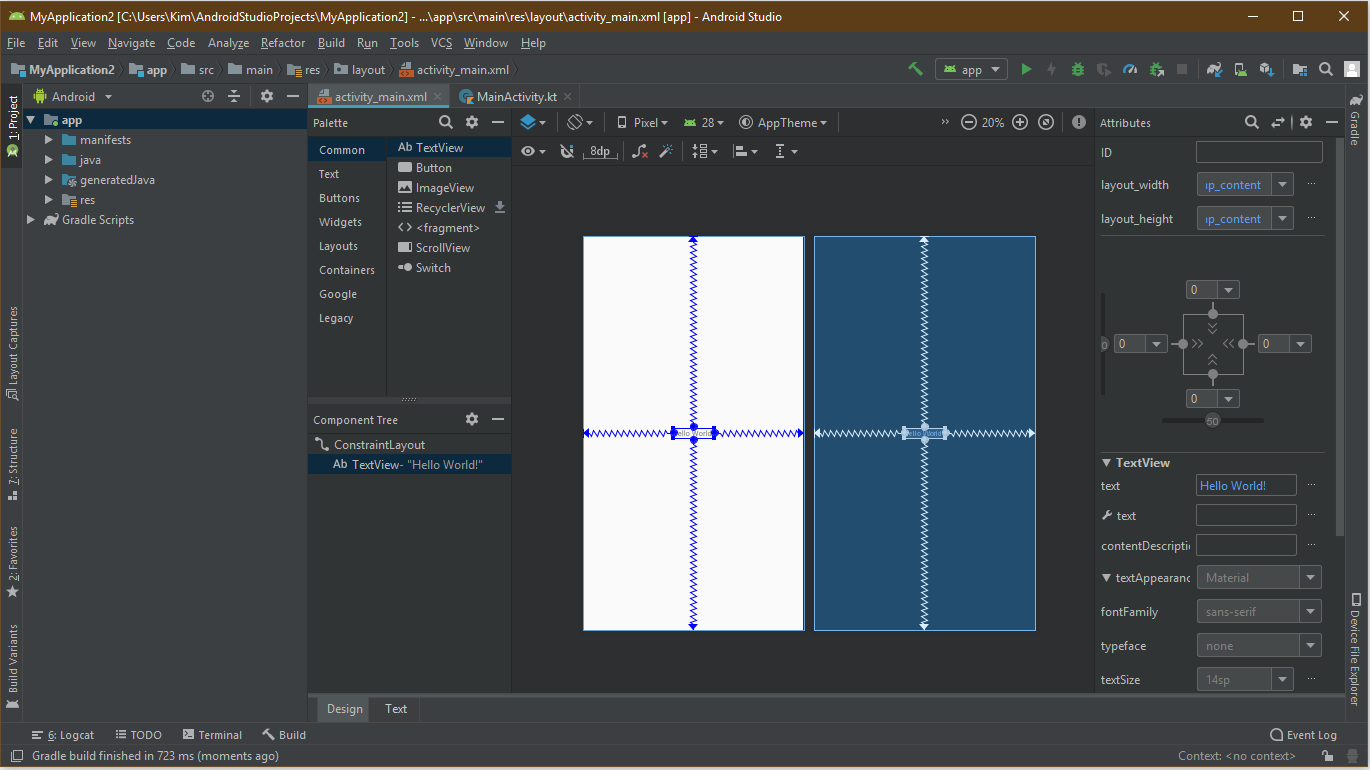
Luckily, Android Studio automatically generated a Hello World layout so here we have, first Android Hello World program. However, the problem starts here, when I used my desktop computer, which is running on an AMD Ryzen Processor
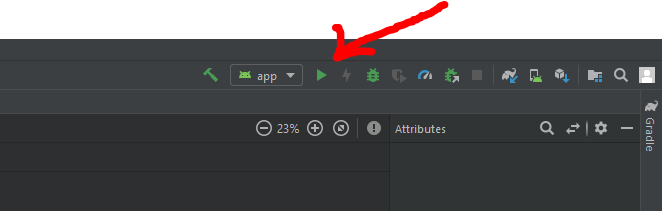
Test the app on an emulator
As always, a play button will build the app and run it but Android app has to run in an Android environment so Android Studio will ask you to download an Android emulator for it
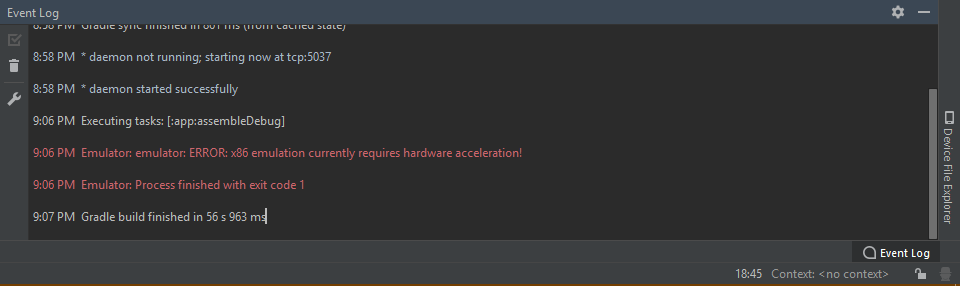
You will have to choose the simulating device and Android version for that. I chose Pixel 2 XL on Android Oreo. Then hit “next”, “finish”, “OK”. The app will be built but here it comes, the problem with AMD Processor. The emulator would not boot up
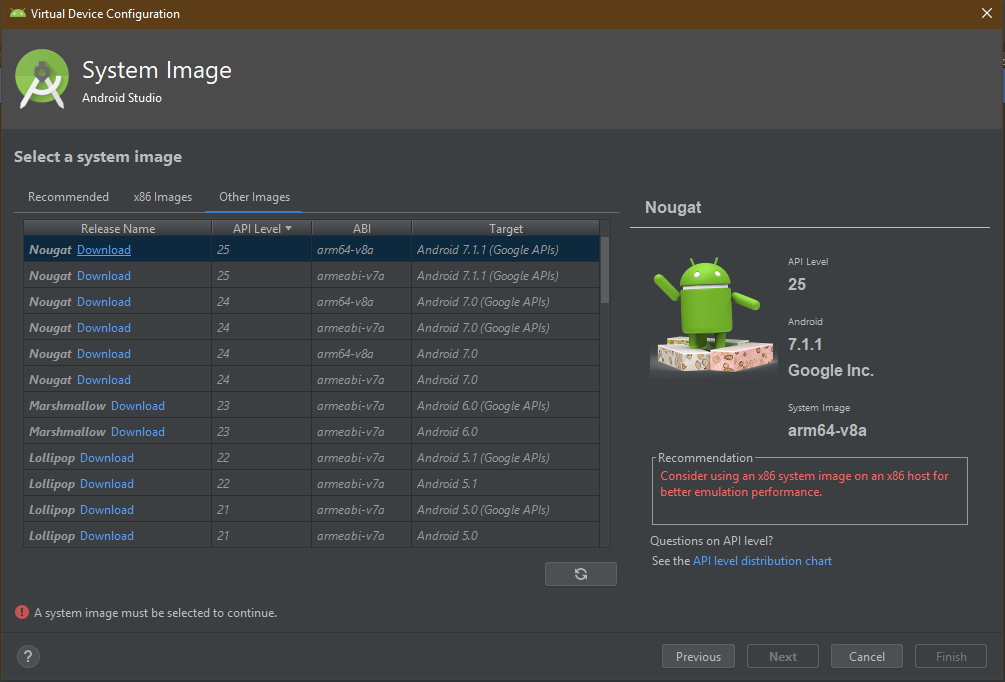
After some googling, I found a temporary solution, which is to download the other image for the emulator which has to be on ARM architecture (shown below) but the performance is significantly slow because AMD Ryzen is based on x86_64 architecture not ARM one.
Solution
With a little more help from the internet, here’s how we can run an x86 Android Emulator on an Ryzen processor.
Windows Hyper-V (which is only available on Pro version or above) is critical to run the emulator or any kind of virtual machines. By default, it is partially disabled on PC runs AMD processor.
To enable Hyper-V, we need to go to Windows 10 Settings. Select Apps. Then find Program and Features on the right tab. Select Turn Windows features on or off. Then we will find Hyper-V settings as below
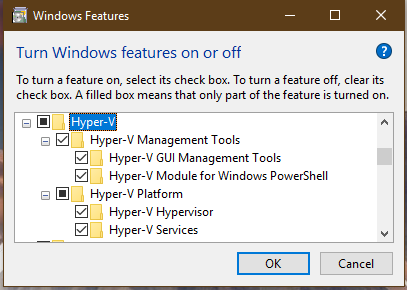
Just to be sure, we want all features of Hyper-V enabled. Hit OK then Windows will automatically download requirement files for Hyper-V, install it and ask you to restart the computer.
Once Windows is restarted, start up Android Studio and run your Hello World app using the x86 emulator that we downloaded the first time. There should be no error and the emulator will boot up and automatically launch the app

Now Android Studio is set up and you can start building your greatest Android project
Conclusion
As Intel dominated desktop processor market for quite awhile, AMD’s new Ryzen processors are not well-supported as Intel counterpart. It was shown that Windows did not enable Hyper-V by default for Ryzen side but with some research and help on the internet, this problem shouldn’t be a thick wall against your path into Android Development. Hopefully, Microsoft will get this problem and solve this in some of they’re next patches.
